
Better rendering through technology.
When I first started rendering with my Dad, rendering was a much less complicated affair. We would mix up a scratch coat and apply it straight to any unpainted brickwork we had been asked to render over. If there was existing render we would either have to hack it all off, or screw expensive metal lathe sheeting over the top of it or mix up an adhesive called SBR, that if not applied properly could lead to all of the render falling off! Neither option was much fun and caused extra expense to the client, and stress to us as plasterers.
But in the several decades that have passed more and more products have come on to the market, that not only make the process of rendering properties more efficient, by allowing us for example to render directly over existing painted bricks and render, they also give us the peace of mind that the render we are applying will stick properly and last for many years, with out any cracks appearing.
Here are a few of the products that we have slowly introduced into our rendering jobs over the year that have demonstrably led to a finish with extra longevity and peace of mind for a lasting finish.
RenderGrip:
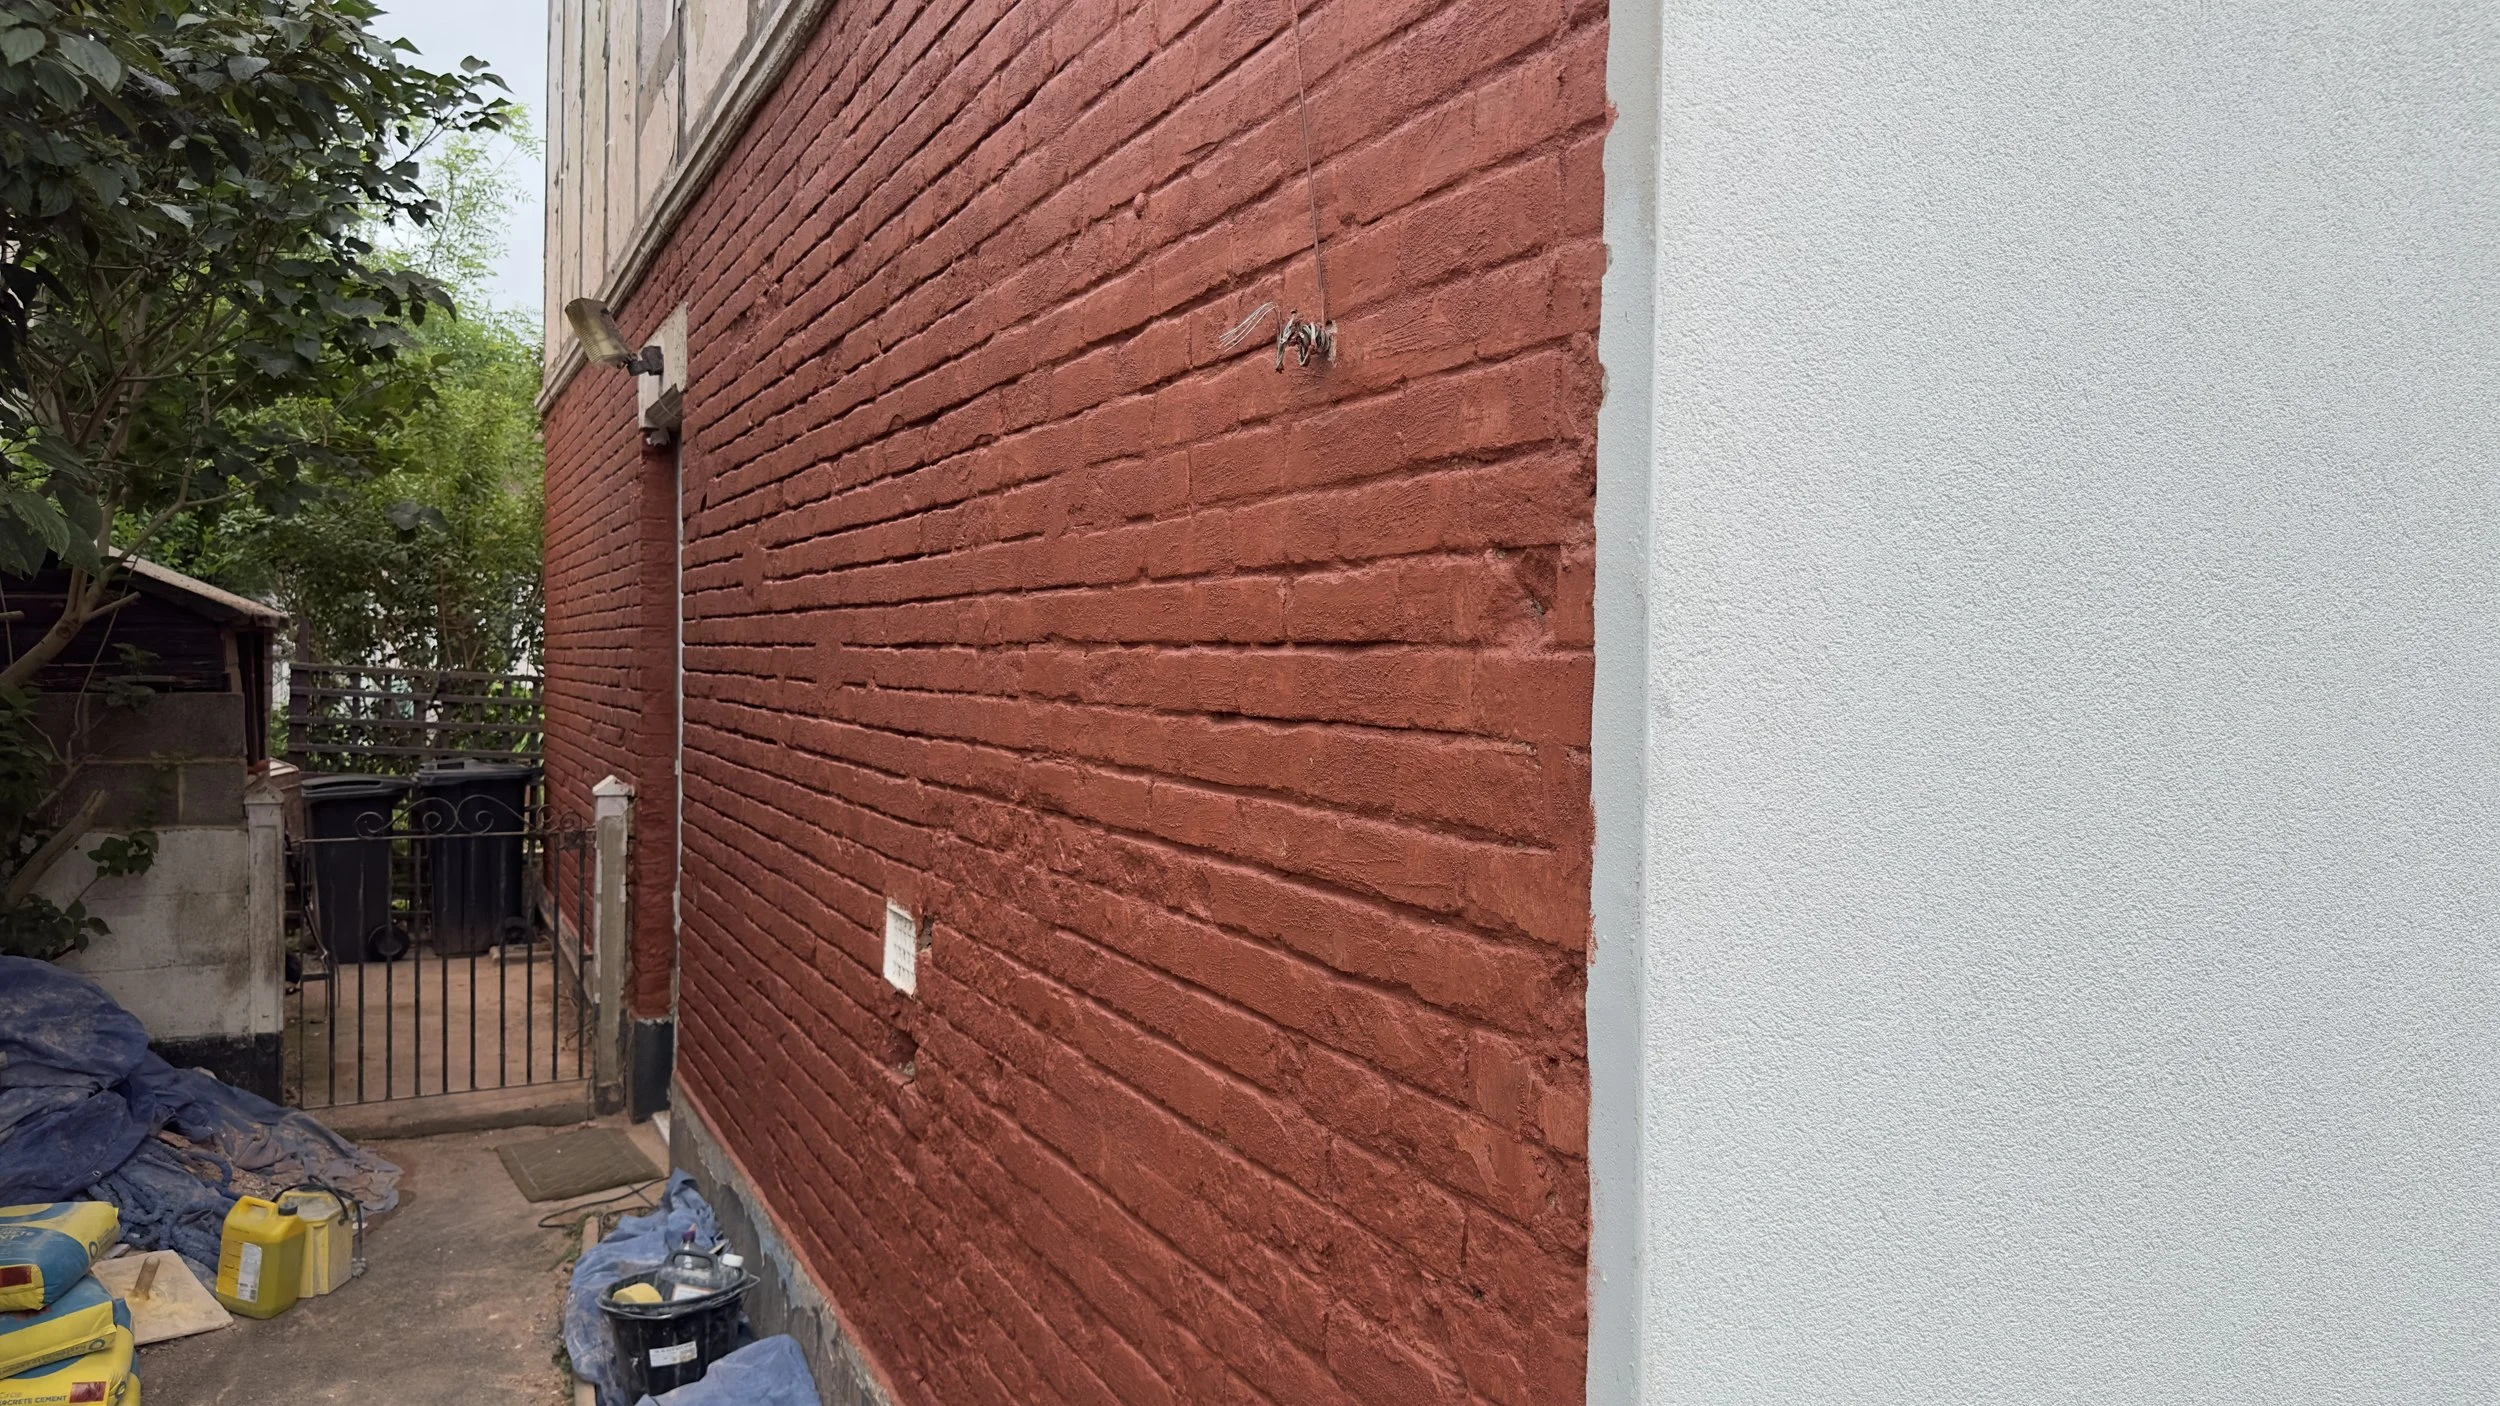
A ground floor wall in Boscombe where the existing render had been applied to badly painted brickwork without a primer and had failed and blown. After stripping, scraping and pressure washing the wall RenderGrip was applied to seal it and make sure the new render bonded to the brickwork.
RenderGrip is a sticky red paint like liquid that includes an aggregate that provides an improved to key to the wall that you are rendering. Once dried it seals the substrate underneath, provide a waterproof seal and excellent adhesions for the scratch coat render. It also allows for the top coat render to set in a uniform fashion, meaning that the mortar joints don’t start setting up before the brickwork areas, giving us more time to properly rub up the topcoat render with less blemishes and dry spots.
Render Mesh:
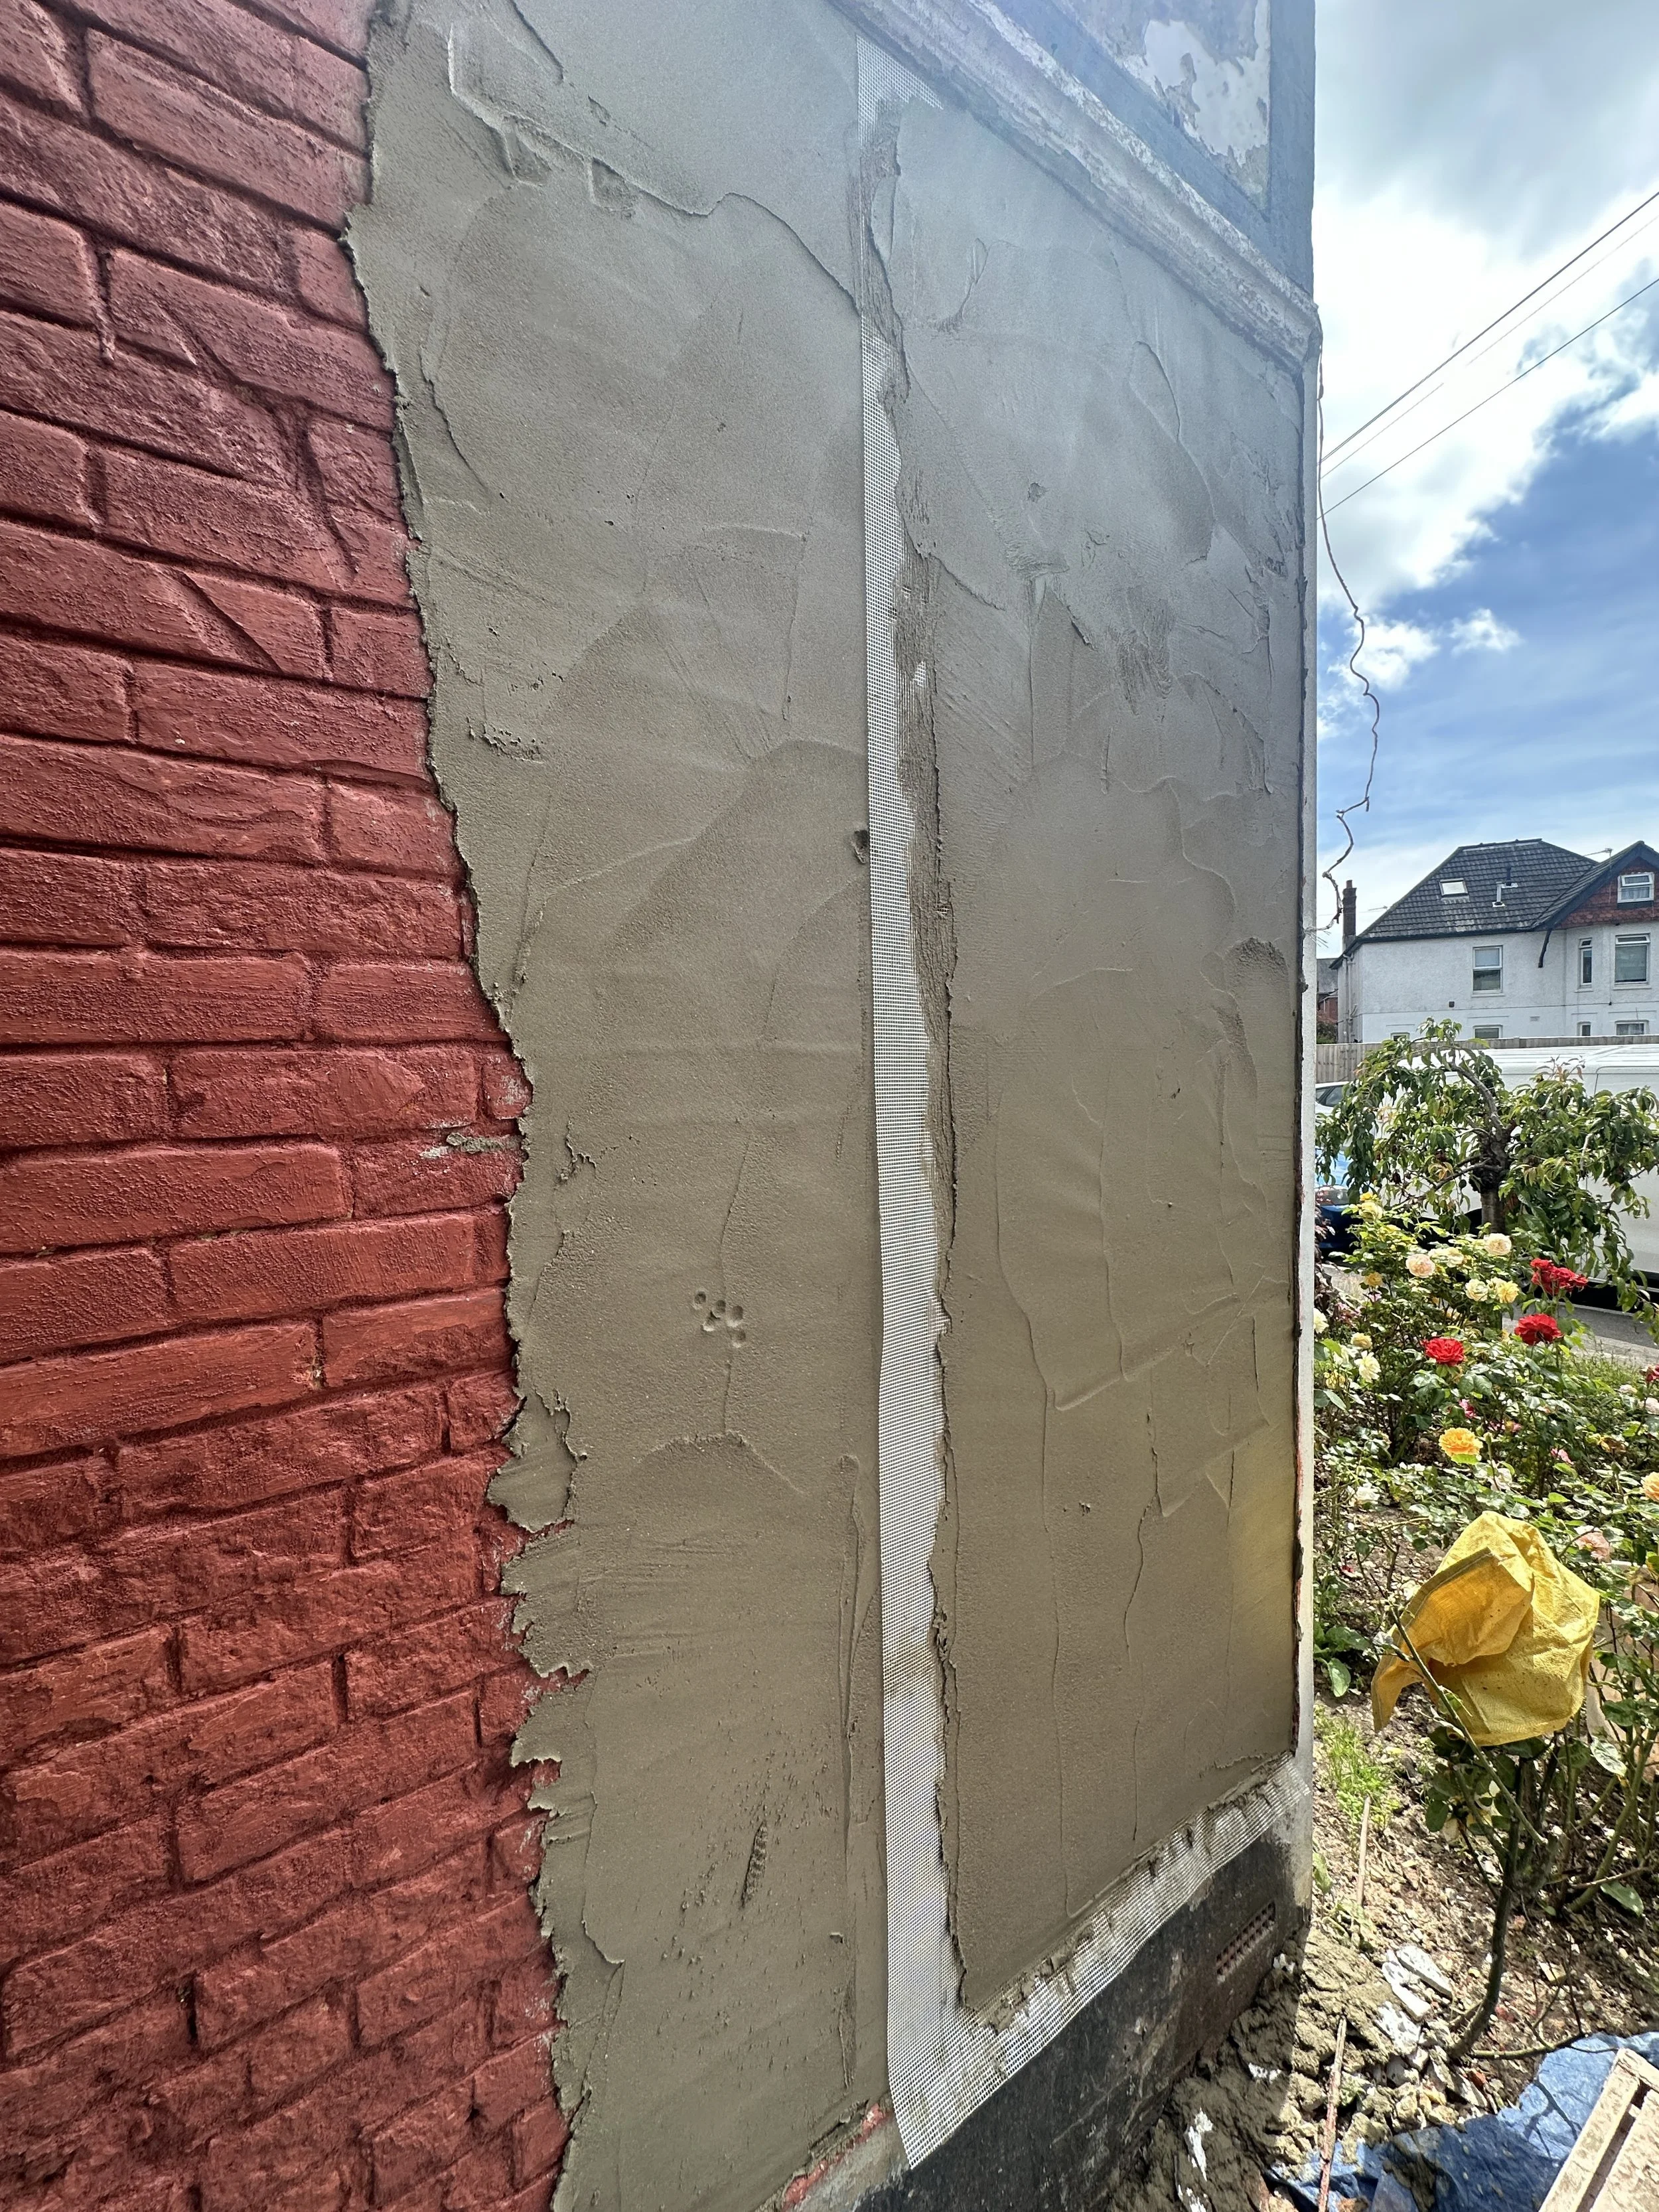
Here you can see a render mess being embedded into the scratch coat render, after the first coat of render has been put on the mesh is pushed into it and then rubbed in with a float or trowel until it is barely visible, then a second coat is put straight over the top and scratched with a 100mm overlap between joins.
Of all of the products that have made a huge difference to our rendering projects, rendering mesh has made for me the biggest difference. I sometimes go back to houses that I have rendered in the past to look at internal plastering jobs, and whilst there I try and take the opportunity to see how the rendering is holding up over time. Don’t get me wrong, before we started using render mesh I wouldn’t go back to find that had cracked badly, but sometimes a small crack here and there, especially around windows would be visible. Since using the mesh every property I have inspected the rendering of has been completely crack free. It has also allowed us to move away from the EML (expanded metal lathe) systems if the existing render is sound, that was massively expensive and time consuming to apply.
Plastic beads and Pink Grip:
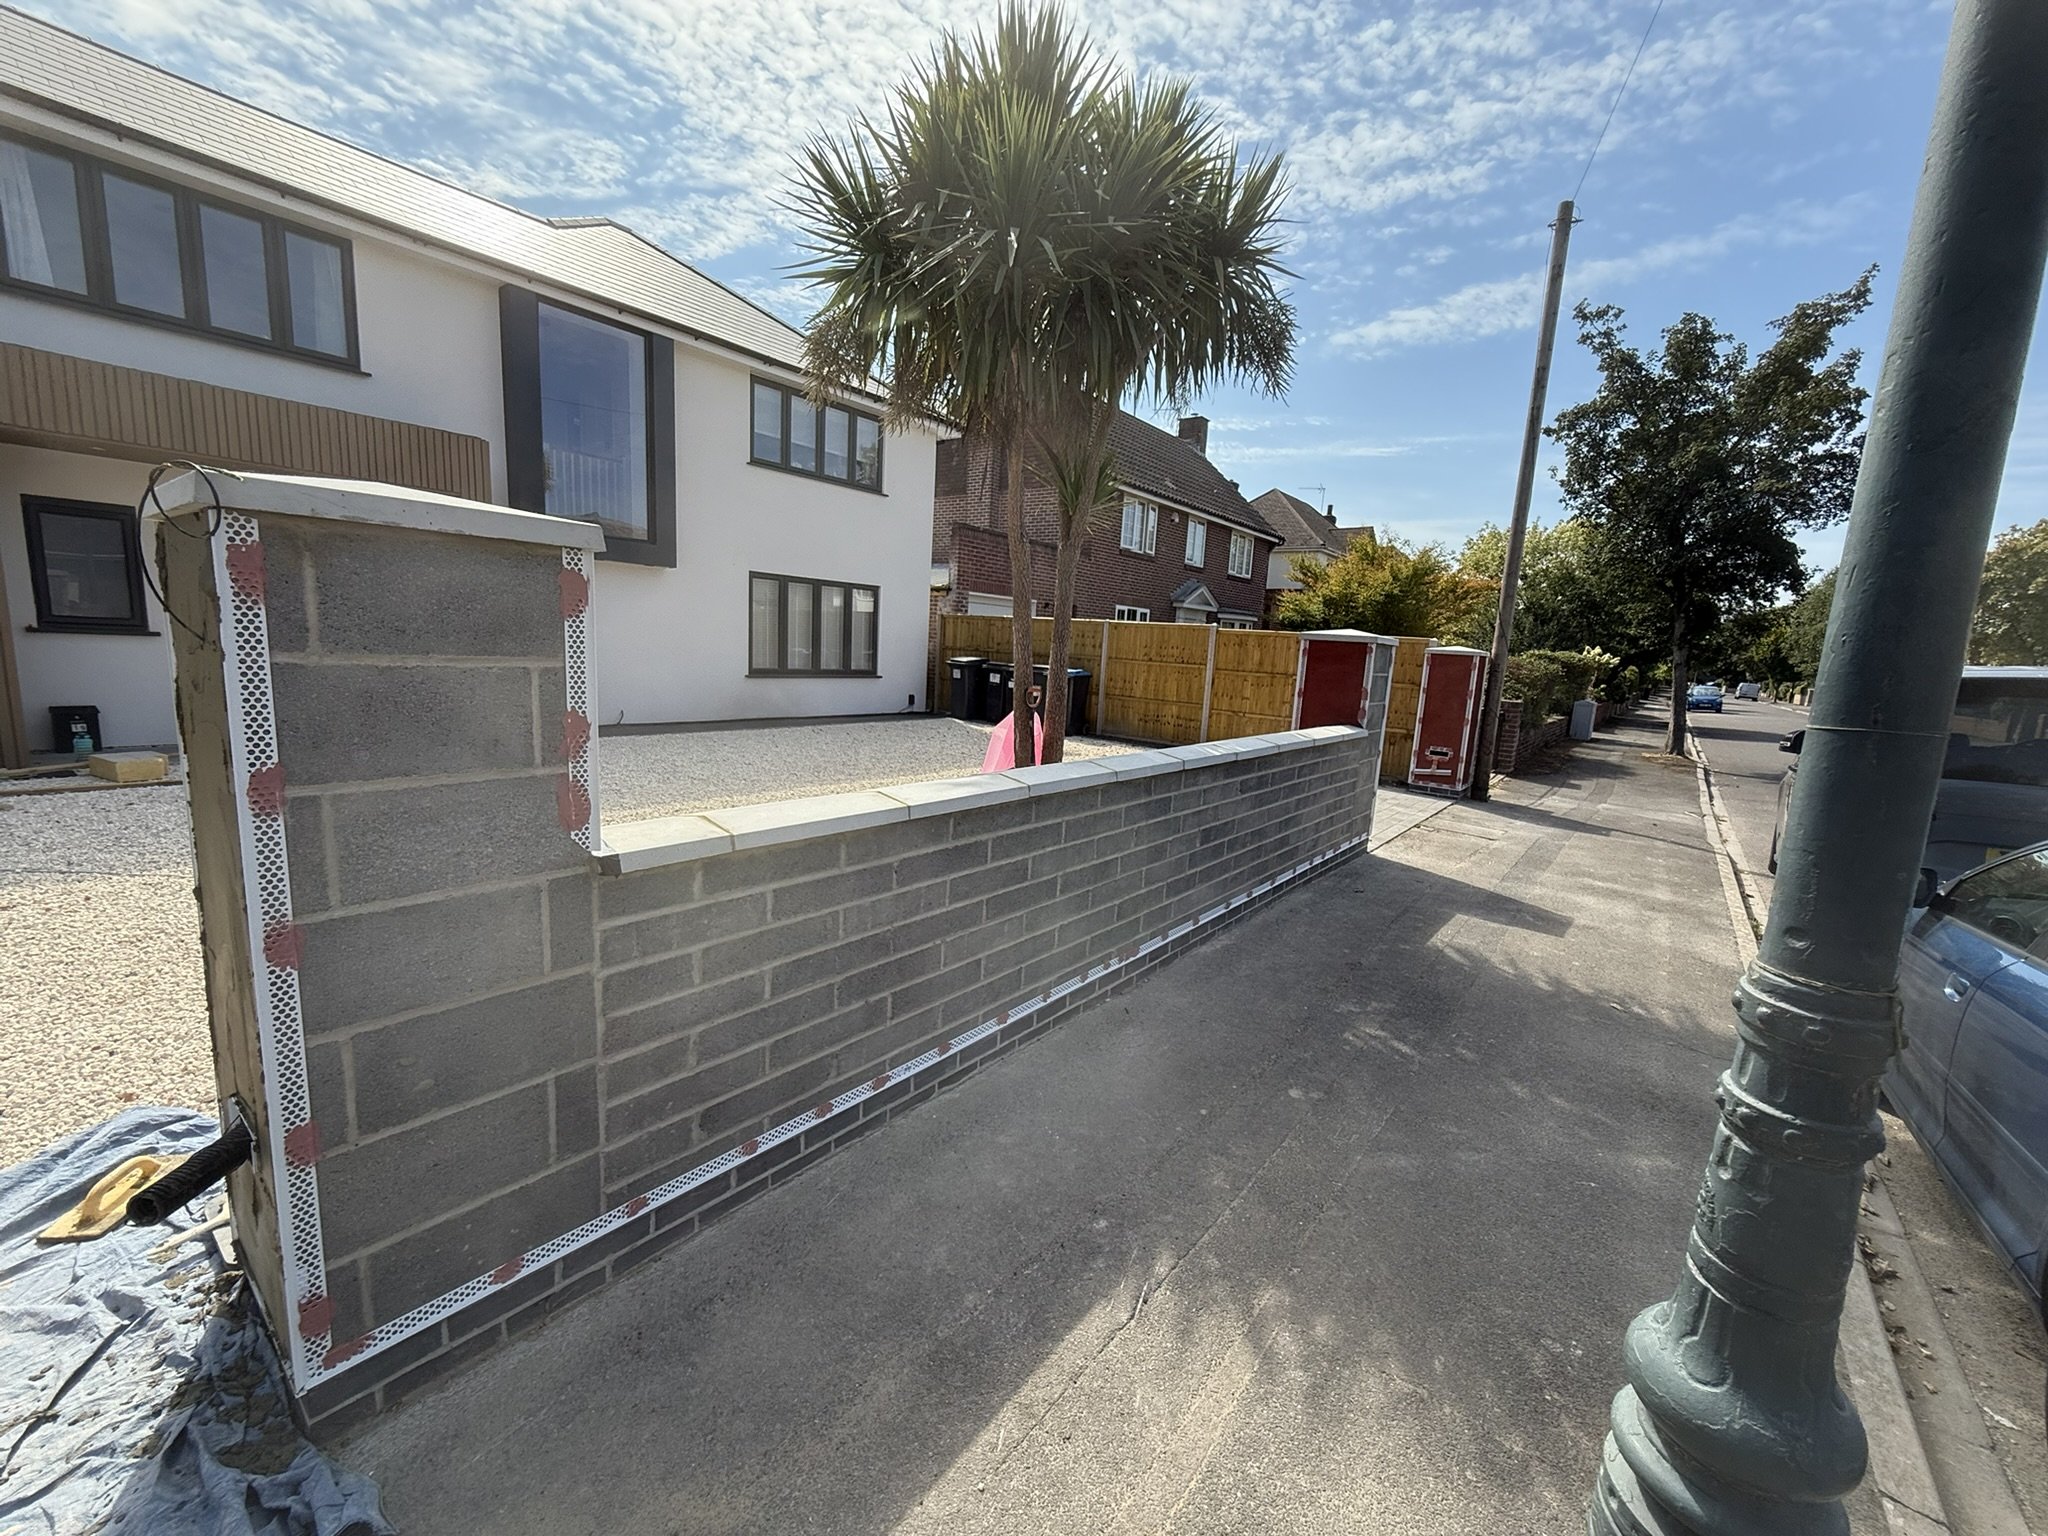
A garden wall that has had rendering corner and stop beads fixed with Pinkgrip adhesive.
One clear memory that sticks in my mind from when I worked with my Dad, was his frustration at nailing up rendering beads with tiny masonry nails, that would wither bend on contact with a hard brick, ping off at angle or worst of all you’d hit your thumb with the hammer instead of the nail, that pain and frustration would conjure up swears words that the bluest of comedians would think twice about using! Luckily these days we have an adhesive called Pinkgrip, that is excellent at embedding rendering beads into. Once you have cut your stop, corner, expansion or hood/bell bead to length, you liberally apply dots of Pinkgrip to the wall and then push the bead into them, making sure they are straight with a spirit level as you go, so simple, they stick hard (believe me I’ve tried removing them), allow you plenty of time to get the levels correct and are fully weatherproof. The plastic beads have replaced the steel beads that were used and are much easier to cut, over half of the price of the stainless steel beads and don’t rust like the galvanised beads that should only be used inside.